
How to Replace a Broken Thermostat
Whether it’s broken or simply an eye sore, Express Electrical is providing you a simple guide on how to replace a broken thermostat. The thermostat is a small, yet vital component of your HVAC system. It enables your AC to respond to changes in temperature based on ambient conditions and your settings. If it malfunctions or fails, your heating and air conditioning won’t run properly. Replacing the thermostat can be a DIY job, whether you install the same model or upgrade to a smart thermostat. Here are the key steps to follow:
Shut Off Your HVAC System
Turn off any AC and furnace units the thermostat controls. Then cut the power at the breaker box; the appropriate circuit and switch should be labeled. Confirm the power is off by adjusting the thermostat temperature and seeing whether the unit responds or not.
Remove the Existing Thermostat
You should be able to remove the cover plate with a screwdriver. Remove the mounting screws. The thermostat body should then easily pop out of the mounting plate.
Label Wiring
Note the terminal each wire is connected to and label it with masking tape. Mark the tape with letters to identify which wires go to the correct screw terminals. Disconnect the wires, removing holding screws with a small screwdriver if needed, and then tape them to the wall.
Remove the Old Mounting
Unscrew the old thermostat mount and remove it from the wall. If there are wall anchors for the old unit, remove them as well. A wrench or needle pliers can help with this. You’ll then have to patch the holes left behind.
If Needed, Install a C-Wire
A “common wire” is needed if you install a smart thermostat for the first time. It provides a continuous flow of power, but doesn’t necessarily control other appliances. Check the HVAC control board to see if a wire is connected to the C terminal. If not, you can install a C-wire yourself or have an electrician do it.
Install the New Mounting Plate
Using a level, mark the location for mounting holes and drill them in the appropriate places. Insert drywall anchors if necessary. The letters on the new plate indicate where each colored wire goes (“R” stands for red, “G” for green, etc.), so insert each wire accordingly. Then mount the base on the wall, securing it with the included screws.
Make the Connections
Follow the product manual’s instructions for how to connect each wire to its corresponding terminal. Use the diagram to ensure connections match, and make sure they’re tight. If the thermostat uses batteries, verify the battery you have is the correct size and polarity.
Mount the Faceplate
Gently push the excess wire into the wall and add some fiberglass or other fire-resistant insulation to cover up the hole. Mount the base, using drywall anchors if needed to securely screw in the faceplate.
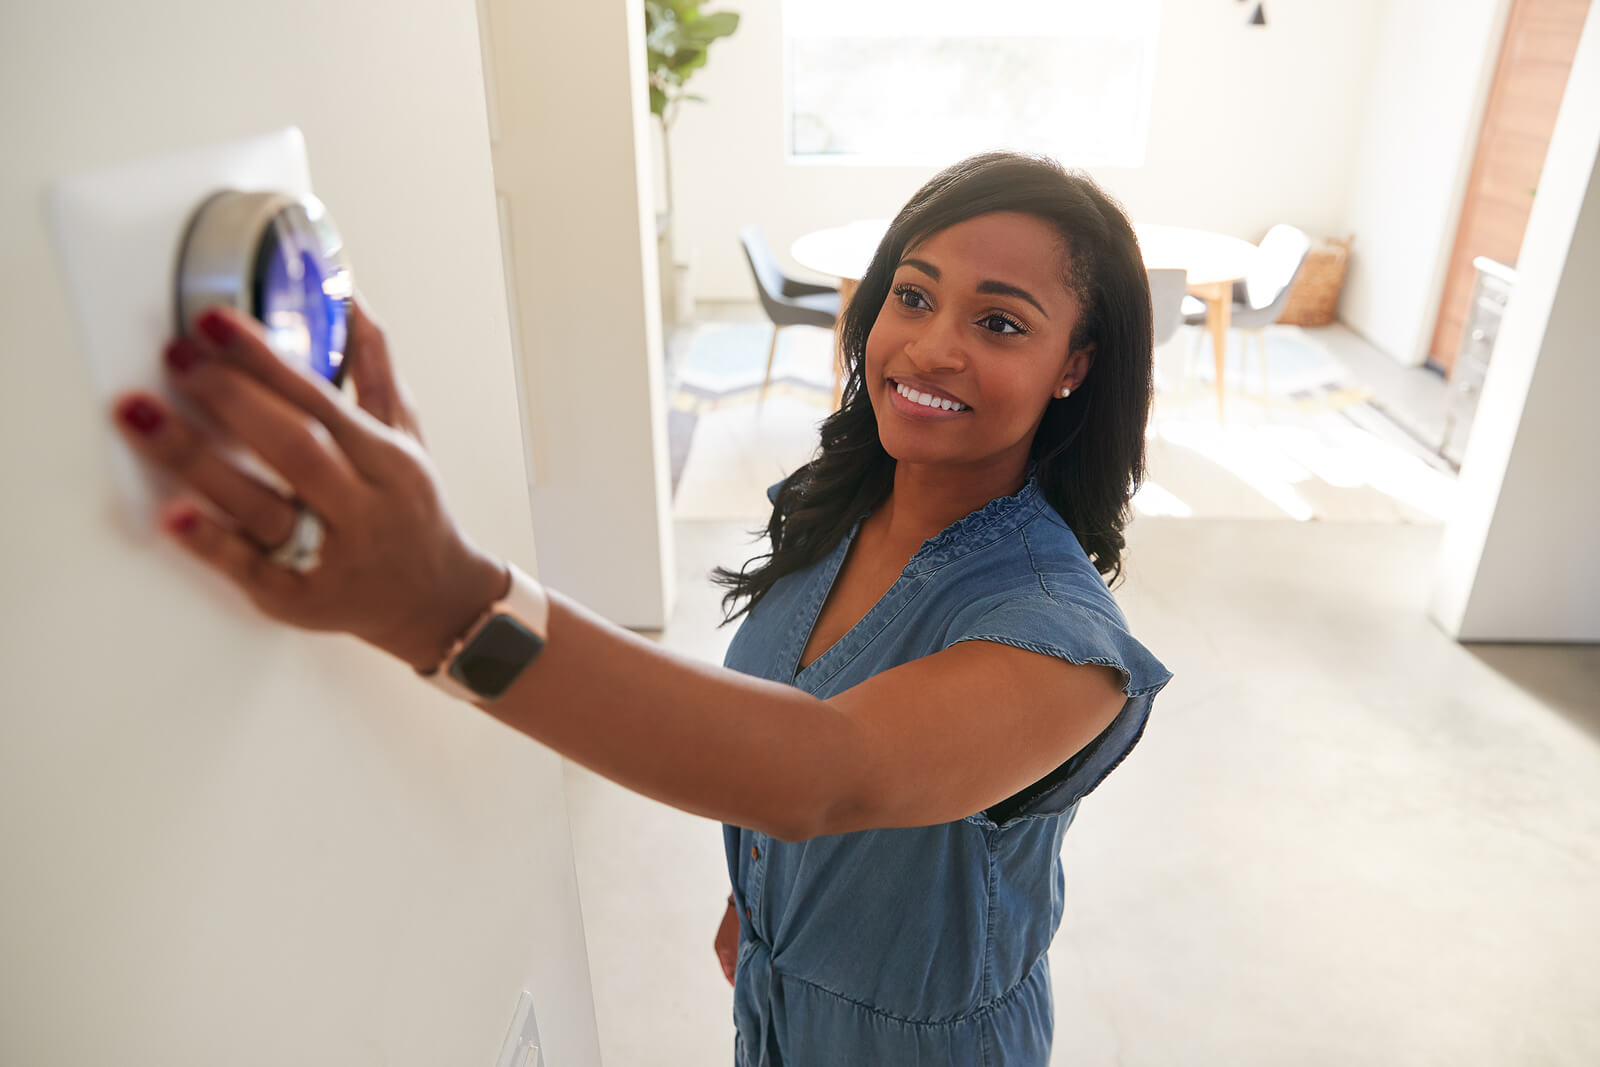
Fit the Thermostat onto the Plate
The thermostat and its respective plate are designed to fit together. Mounting the thermostat face should therefore be simple.
Power Up
Turn your HVAC back on at the breaker panel and then start configuring your thermostat. It should begin turning your heating and cooling system on and off to keep your home comfortable.
Having Thermostat Trouble? Contact Express Electrical Services
We specialize in all types of electrical installation in the Los Angeles area. If you have trouble with thermostat wiring or any other part of the process, don’t hesitate to get in touch. Request an appointment online or call 323-727-7799 today.