
How to Conduct a Home Electrical Safety Test
Is getting an electrical safety test worth the money? Absolutely.
According to the National Fire Protection Association (NFPA), nearly 33,000 home fires in 2016 involved electrical equipment. About 13% of all home structure fires in the U.S. involved electrical failures and malfunctions. Oftentimes, the source of ignition is wiring and associated components, lighting, cords/plugs, and transformers and power supplies. Professional inspections can improve safety, but an electrician can’t always be present in your home. Performing an electrical safety test on your own can help spot hazards a licensed technician can address to avoid shocks, electrocutions, and fires.
8 Steps to DIY an Electrical Safety Test
Step 1: Test Electrical Outlets
A block tester can help determine outlet safety. To use it, simply plug the device into the outlet. Lights on the panel indicate common issues with outlet wiring. The condition of your outlets and switches is paramount to electrical safety. In addition to testing and verifying they’re working, check outlets and switches for abnormal warmth, discoloration, odors, buzzing/crackling, and whether plugs fit snugly.
You can also use a voltage tester, especially if lights tend to dim or flicker. By testing the voltage, you can find the source of the problem, such as a loose wire. The multimeter should read between 110 and 130 volts for a standard 120-volt outlet. Any readings outside that range mean it’s time to start troubleshooting.
Step 2: Examine the Integrity of Outlets
Electrical outlets should never be loose. If so, plugs can slip out and cause an electrical arc and fire. Act appropriately if a plug pin is exposed. If the outlet isn’t secure to the electrical box, install plastic shims or tighten the screws. When this doesn’t work, call an electrician to fix the problem. Also, check that your outlets are tamper resistant, which is a National Electrical Code requirement intended to protect children from inserting foreign objects.
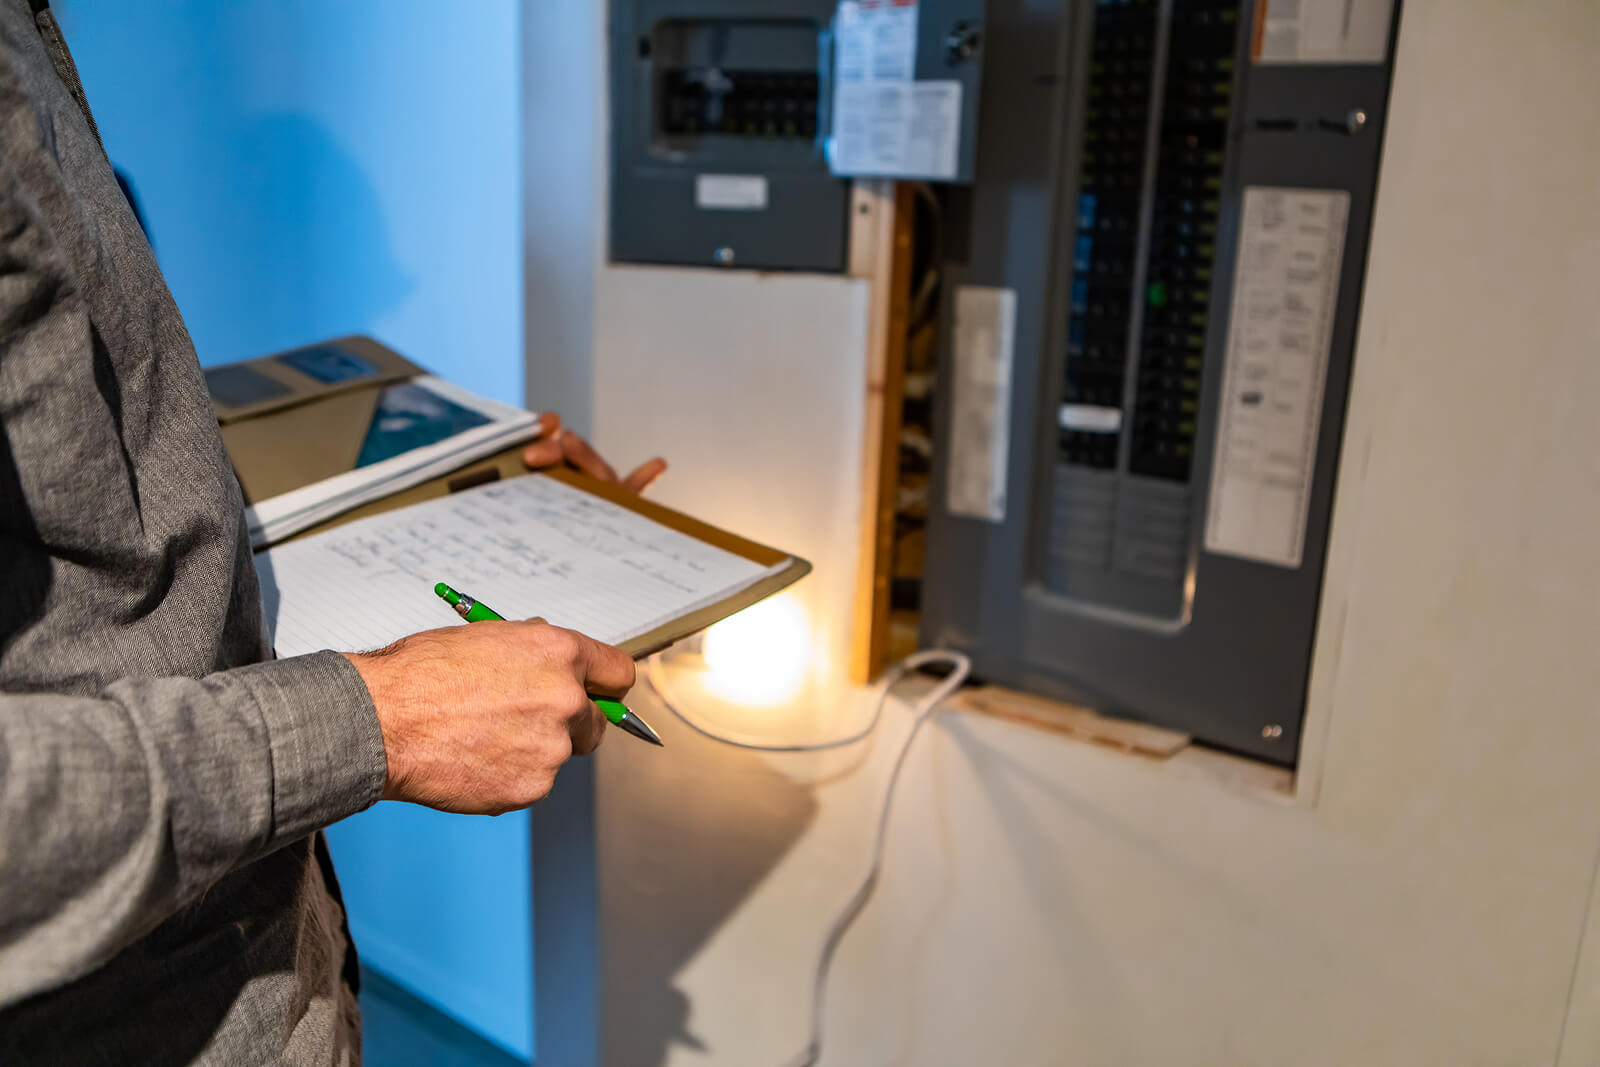
Step 3: Inspect Your Breaker Panel
Make sure the panel has three feet of clear space around it. Inside the door, check the breakers for rust and evidence of rodent activity. Flip each breaker on and off, taking note of whether it seems corroded or gets stuck. If so, it might not trip if there’s an electrical overload. Also, review with your household how to reset a circuit breaker.
Step 4: Check Your Home’s Exterior Outlets
Electrical safety isn’t only critical inside your home. Outside electrical outlets can become a hazard if not properly maintained. When inspecting them, verify they’re sealed against the elements and GFCI protected. The weather cover should be intact and, if using the outlet for an extended time, use an outlet cover with access holes so it’s properly closed when in use.
Step 5: Check Exposed Wiring
Exposed wiring in the basement or attic should be visually inspected. The wiring insulation should be smooth and free of cracks, splits, or holes. If there are signs of chewing, look for other evidence of rodent infestations, or call an exterminator. Any damaged wiring should be repaired or replaced as soon as possible.
Step 6: Review How You’re Using Extension Cords
Make sure extension cords aren’t installed for long-term use or to power air conditioners or space heaters. Discard any cord that is cut, nicked, frayed, or otherwise damaged and never leave one nailed or stapled to a surface. Hot extension cords should be considered faulty and dangerous to use. If you use extension cords for power tools, check the amperage rating and whether the cord is designed for use with those items.
Step 7: Check Electrical Appliances
Ovens, ranges, and exhaust hoods should be clean, and combustible materials should not be placed near ovens. Refrigerators and dryers should have adequate air circulation, while kitchen appliances near water sources should be plugged into GFCI outlets. Wires and cords should be placed away from heat-producing appliances and anywhere they can be pinched or tripped over. If you receive a shock from an appliance, it should be serviced right away.
Step 8: Test Your Smoke/Carbon Monoxide Alarms
First, verify smoke and carbon monoxide detectors are installed on every floor, near every bedroom. They should be tested once a month; most have a test button that sounds the alarm to determine that it’s working. Replace the batteries of each alarm at least once a year. If a smoke alarm is over ten years old, replace it.
Contact Express Electrical Services
Our company specializes in all electrical solutions that customers in and around Los Angeles need. If you find issues during your electrical safety test, our L.A. electricians can further troubleshoot and fix them. We can fix any problem, no matter how big or small. Serving the area since 1982, we’re available 24/7 for emergencies and can schedule same-day service. To schedule an electrical inspection or repair, call 323-727-7799 today!