
DIY Guide: How to Wire a Sub Panel
You might need a sub-panel if there aren’t enough circuit breakers in your main electrical service panel. To connect the two panels, you’ll need a thick three-wire cable. It’s best to hire an electrical contractor, as this project entails working with wiring and other high-voltage electrical components. However, we’ll explain the basics of sub-panel installation to help you understand what it involves.
What Is a Sub-Panel?
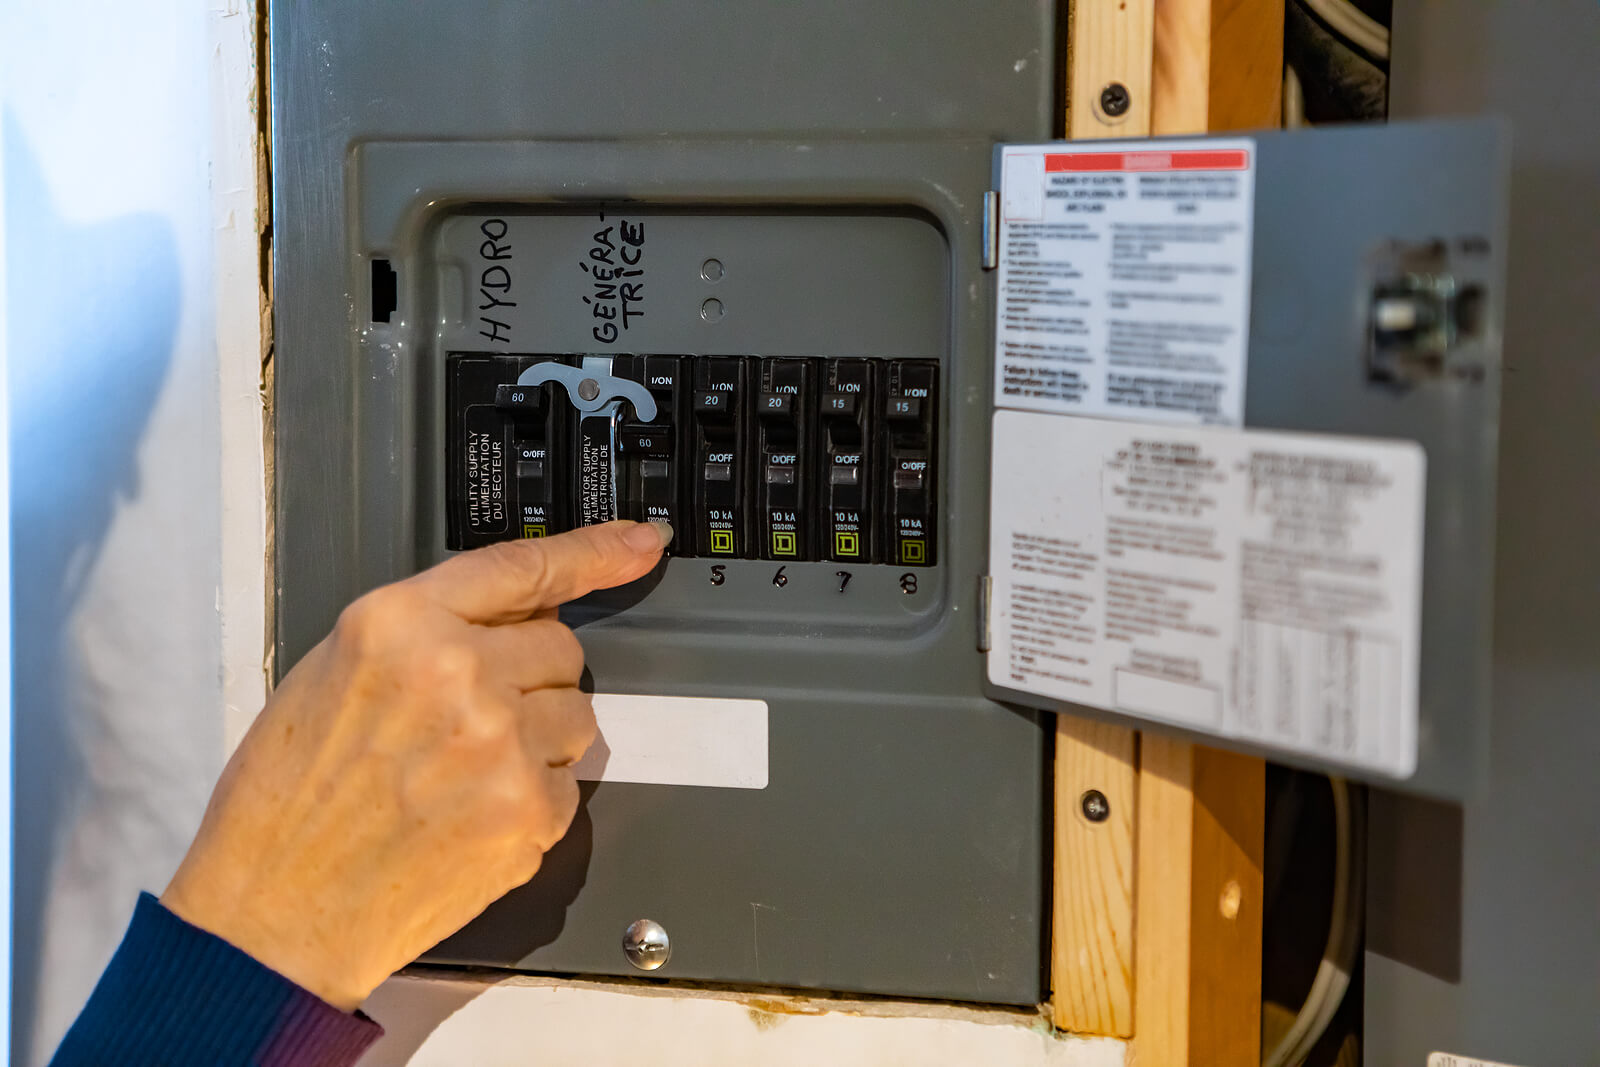
This component is suited for homes that can’t accommodate tandem circuit breakers, which allow two circuits to be controlled from one slot. It’s also beneficial if your existing electrical panel doesn’t have room for new breakers. The main panel’s feeder breaker works as the main disconnect for the subunit. There is no main breaker here and the sub-panel must have separate bus bars for neutral and ground wires. Grounds and neutrals can only be connected to the main panel.
What You’ll Need
Tools you’ll need for installation include a screwdriver, hammer, voltage tester, flashlight, wire strippers, lineman’s pliers, and long-nose pliers.
For materials, you’ll need the sub-panel, mounting screws, a feeder cable approved for the application, staples or cable clamps, circuit breakers, and an approved feeder breaker.
Cable to Use
Only 600-volt copper wire should be used. Here are the appropriate sizes/amp ratings:
- 30 amp: 10 gauge
- 20 amp: 12 gauge (yellow)
- 15 amp: 14 gauge (white)
- 15-60 amp: 6 gauge
- 40-50 amp: 8 gauge
Always use copper for a ground wire (and never as a neutral wire). Nonmetallic flexible cables must be used to carry ground wire, while an armored steel cable can be used as a grounded connection. And make sure to use insulated electrical tools to avoid injury.
Sub-panels hold two to 12 breakers. For a six-space panel used indoors, a 100-amp wire size is needed, while a two-space outdoor panel can work with a 60, 100, or 200-amp wire. Always check the product rating to make sure you’re using the correct wires.
Indoor vs. Outdoor Panels
Indoor sub-panels are usually mounted between 2 x 4 studs and are not weathertight. They must be attached to the structure and not mounted to drywall. Mounting must be done so the cover fits flush against the metal box once the drywall is installed.
Outdoor sub-panels are weather-resistant. They should be placed in a sheltered, shaded area and at least 12 inches above where snow is likely to accumulate. The panel must be mounted to a permanent structure and where equipment cannot impact it.
Wiring the Sub-Panel
This stage of installing a sub-panel is not for the typical DIYer. We’re only breaking down the steps to give you an idea of how the process works. Any mistakes can prevent the sub-panel from functioning or create a dangerous shock and fire hazard. Nevertheless, here’s the general process of how our licensed electricians handle sub-panel wiring:
- When mounting the sub panel, make sure it’s about 1 foot away from the main service panel and measure how far each wire will need to travel.
- Plan the routes for the ground, neutral, and black and red hot wires.
- Strip enough wire sheathing to attach the wire, then remove a knockout slug and clamp the cable in place.
- Route neutral and ground wires and connect them to their respective bus bars. Then route, cut, and strip the red/black wires and connect them to the feeder breaker.
- Cut and strip the feeder wires and connect them to the proper terminals. The red/black wires connect to the hot bus bars, while the neutral (white) wire goes to the main neutral terminal. Connect the ground wire to the ground bus bar.
- Once new circuit cables are run into the sub-panel, clamp each cable and route the wires for each circuit around the perimeter.
Sub Panel Wiring Tips
As we’ve illustrated, wiring a sub-panel is not a simple task. The proper equipment must be used and one must take great care to ensure all wires are installed correctly. Our technicians always follow these tips when installing an electrical sub-panel.
- Make Sure Wires Are Tight: Wire insulation should be stripped such that there’s only copper wire under the screw.
- Use Double-Pole Breakers: 208–240-volt breakers must have connected switches so both legs are either on or off (separate single-pole breakers are a code violation).
- Installing a Push-Down Breaker: The breaker notch sits against the rail or a cleat; rotate the breaker down on the busbar and then push down.
- Installing a Hook-On Breaker: The breaker hooks or snaps over the round rod. To secure it, rotate the breaker down and snap it over the busbar.
- 120 Volt/240 Volt Breakers: A 120-volt breaker circuit can be wired to up to 12 outlets, while a 240-volt circuit is typically wired to a single appliance, such as a water heater or air conditioner.
- For a Square D Breaker Box: Replace a 240-volt breaker with a new one or remove two 120-volt breakers to accommodate the new one; add a tandem breaker if there are no extra slots.
How Does a Sub-Panel Work?
The sub-panel is a secondary breaker box that distributes power to a certain area of your home or building. While it functions much the same way as the main panel, it’s not the main energy source for your property. The sub-panel feeds off the connection to the main panel; the main disconnect for the subunit is the main panel’s feeder breaker serving it. Nonetheless, the subunit provides room for more breakers without overcrowding the main panel and creating a fire hazard.
Why Should I Install a Sub-Panel?
Sub-panels add flexibility to home electrical systems. The number of circuits your main panel can support is limited. However, a sub-panel increases the number of allowable circuits and the areas you can supply power to (so long as the system’s maximum capacity isn’t exceeded).
A sub-panel also has safety benefits. If an electrical fire occurs on one of its circuits, you can switch off the sub-panel and isolate the affected area. The sub-unit helps organize your electrical system as well. It’s particularly useful for a garage with an electric vehicle charging station or heavy machinery, making it easy to manage the power requirements here.
Can a Sub-Panel Have a Main Breaker?
A main breaker can be installed in a sub-panel. It eliminates the need to go back to the main panel to cut power to the sub-unit’s connected circuits. However, a sub-panel isn’t required to have a main shutoff breaker.
How Far Apart Can the Main Panel and Sub-Panel Be?
The most energy-efficient and cost-effective approach is to place the sub-panel about two-thirds of the way between the main breaker panel and the longest branch circuit in your home. It requires shorter branch circuit wire lengths. Therefore, power loss is minimized.
When Should I Have a Sub-Panel Installed?
You can install a sub-panel in any home with a heavy electrical load. It’s often used in converted basements or garages. A sub-panel is good for powering electronics in a workshop, home theater, or home office.
Where Is The Best Place to Put a Sub-Panel?
The National Electric Code requires a sub-panel to be mounted such that the top is at least 78 inches above the floor. It also requires a 30-inch wide working space near the sub-panel and at least 36 inches of clearance in front of it. Installing it in a confined area such as a closet, utility room, or laundry room is prohibited.
What’s the Maximum Allowable Capacity for a Sub-Panel?
Capacity is limited based on local electrical codes and an application’s specific load requirements. You can run a 100-amp sub-panel from a 200-amp main, but can’t feed it through a 200-amp breaker. It’s also possible to run a sub-panel with a peak 200-amp rating off a 200-amp service panel (if local codes and available capacity allow it).
Contact Express Electrical Services
Breaker boxes are powerful and important components in your home. Never try to install or modify one yourself. Adding a sub-panel requires a variety of technical steps and specialized tools; our trained and licensed Los Angeles electricians can safely install one to distribute power to specific rooms or appliances. Call (888) 741-6404 to schedule a service appointment today!